When to Scarify Your Lawn: UK Timing Guide
By Greener Lawn Care - 1 March 2026 - 8 min read
Scarification is the single most effective thing you can do for a tired lawn, but timing matters enormously. Get the window right and the lawn bounces back thicker and healthier than before. Get it wrong and you are left with bare soil heading into winter or a weed-infested mess in spring. The question everyone asks is the same: when should I do it?
The short answer
September to mid-October in the UK. The soil is still warm from summer (above 10C), autumn rain provides natural irrigation for recovery, and the grass has 6-8 weeks of active growing conditions before winter dormancy slows everything down. Soil temperature matters more than the calendar date, so check actual conditions rather than going strictly by the month.
What is lawn scarification?
Scarification is the process of mechanically cutting into the turf to remove thatch: the layer of dead grass, moss, and organic debris that builds up between the living grass blades and the soil surface. A thin layer of thatch (under 10mm) is normal and even beneficial. But when it gets thicker than that, it acts like a sponge, trapping moisture at the surface, blocking air and nutrients from reaching the roots, and creating ideal conditions for moss and disease.
Scarification is a short-term sacrifice for a long-term gain. The lawn looks worse before it looks better, and that is exactly how it is supposed to work.
This is different from a light raking with a spring-tine rake. Mechanical scarification uses a powered machine with vertical blades that cut into the turf at a set depth. It is far more aggressive and effective than hand raking, which only scratches the surface.
Why September to October is the best time
Several conditions come together in early autumn that make it the ideal scarification window:
- Soil temperature is still above 10C from residual summer warmth. This is the minimum for reliable grass seed germination if you are overseeding afterwards.
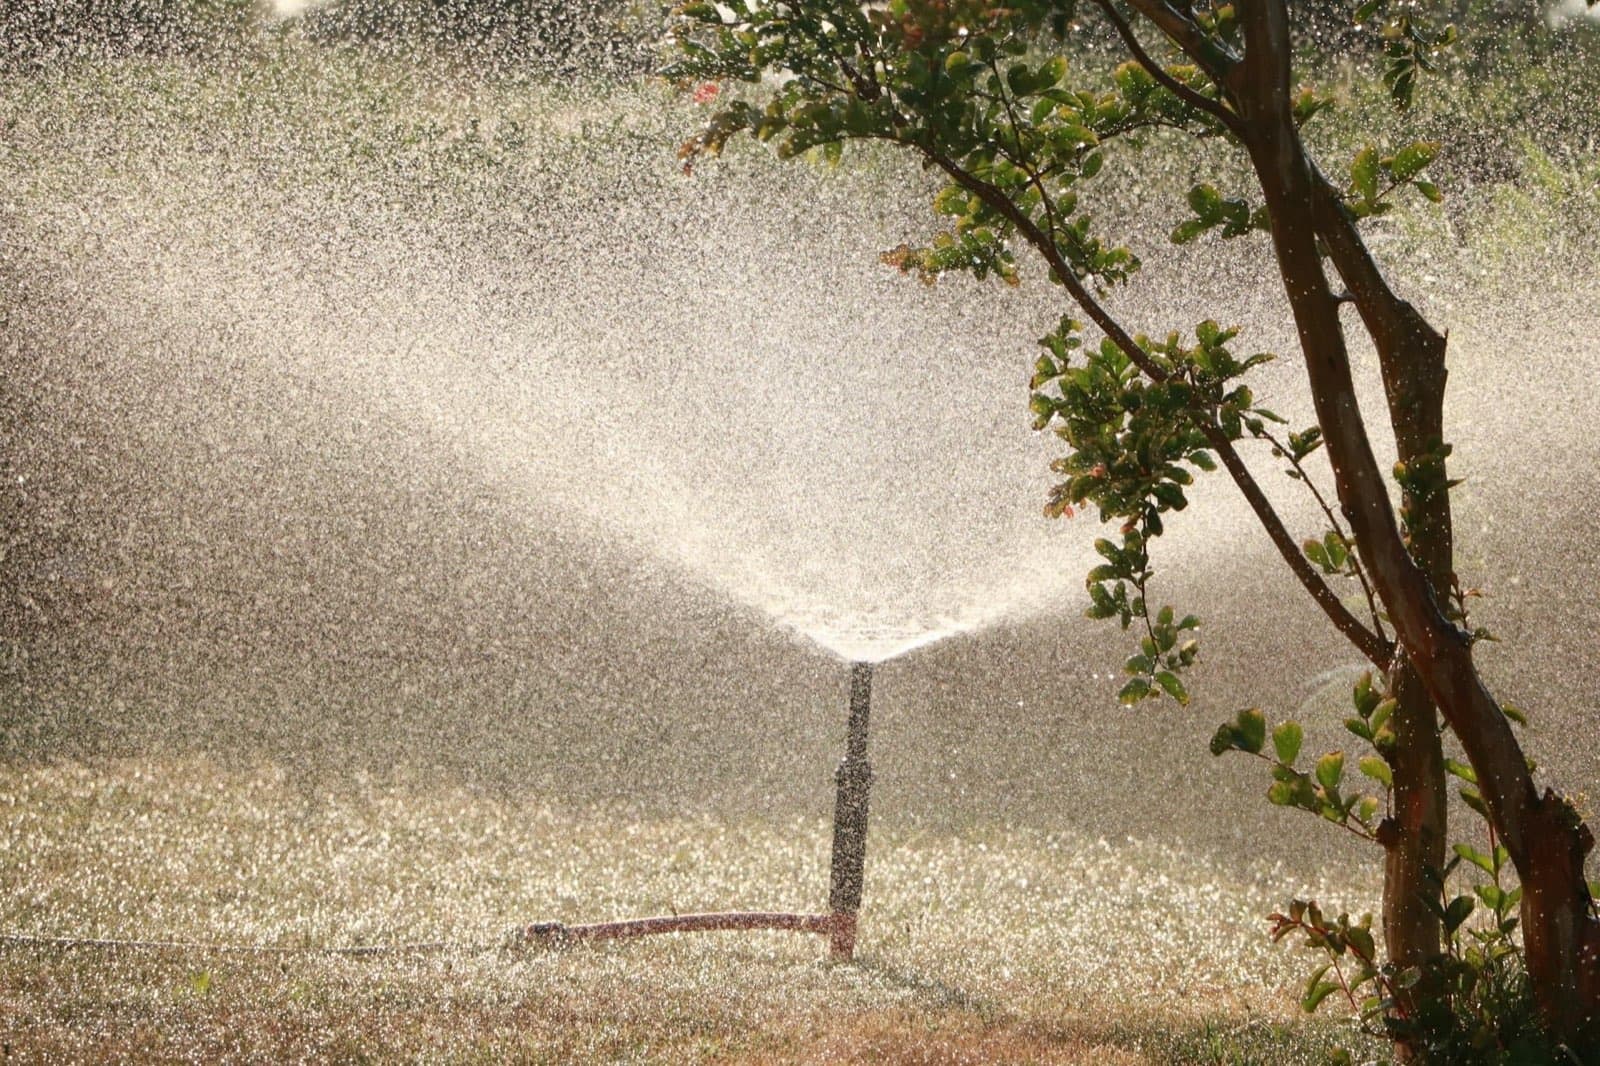
- Autumn rain provides natural irrigation without you needing to water constantly. Seed and recovering turf both need consistent moisture.
- Grass enters its second growth flush of the year in autumn. The combination of warm soil, shorter days, and increasing moisture triggers active growth that helps the lawn recover quickly.
- 6-8 weeks before the first hard frost gives the lawn enough time to fill in before winter dormancy. New seedlings need this establishment period to survive winter.
- Weed seed competition is lower in autumn than in spring, so overseeded grass has a better chance of establishing without being overwhelmed.
A practical tip: rather than relying on calendar dates, use a cheap soil thermometer, or check one of the free online soil temperature maps used by turf professionals. In Essex, soil temperatures usually stay above 10C until late October in a normal year, but this varies.
Can you scarify in spring?
This is one of the most common questions I get, and the honest answer is: yes, but it carries more risk.
Spring scarification (late March to April) is possible when the grass is actively growing and soil temperatures have climbed above 10C. It makes sense if moss was so severe over winter that the lawn is barely usable and waiting until autumn feels too long.
The risks are real, though:
- Weed seeds germinate alongside grass seed in spring. Warm, disturbed soil in April is paradise for annual meadow grass, dandelions, and clover. You may fix one problem and create another.
- Recovery time before summer stress is shorter. If a dry June arrives early, newly scarified turf is vulnerable.
- Soil may still be cold in March, especially on clay soils that warm slowly. Seed sown into cold soil just sits there.
If moss is the primary issue driving your decision, read our complete moss removal guide first. Treating the moss 2-3 weeks before scarification (whether in spring or autumn) gives much better results than trying to scarify live moss out of the lawn.
Wondering whether your lawn needs scarifying this year? A free survey will give you a clear answer and a plan. Book a free lawn survey
What to expect during and after scarification
The recovery timeline is the part that catches most people off guard. Here is what actually happens, week by week.
During scarification
The machine makes two passes minimum, at different angles, to ensure thorough coverage. What comes out is a mix of dead moss, thatch, and organic debris. On a neglected lawn, the volume of material removed is genuinely surprising. The lawn immediately looks stripped back, with bare soil visible between the remaining grass plants.
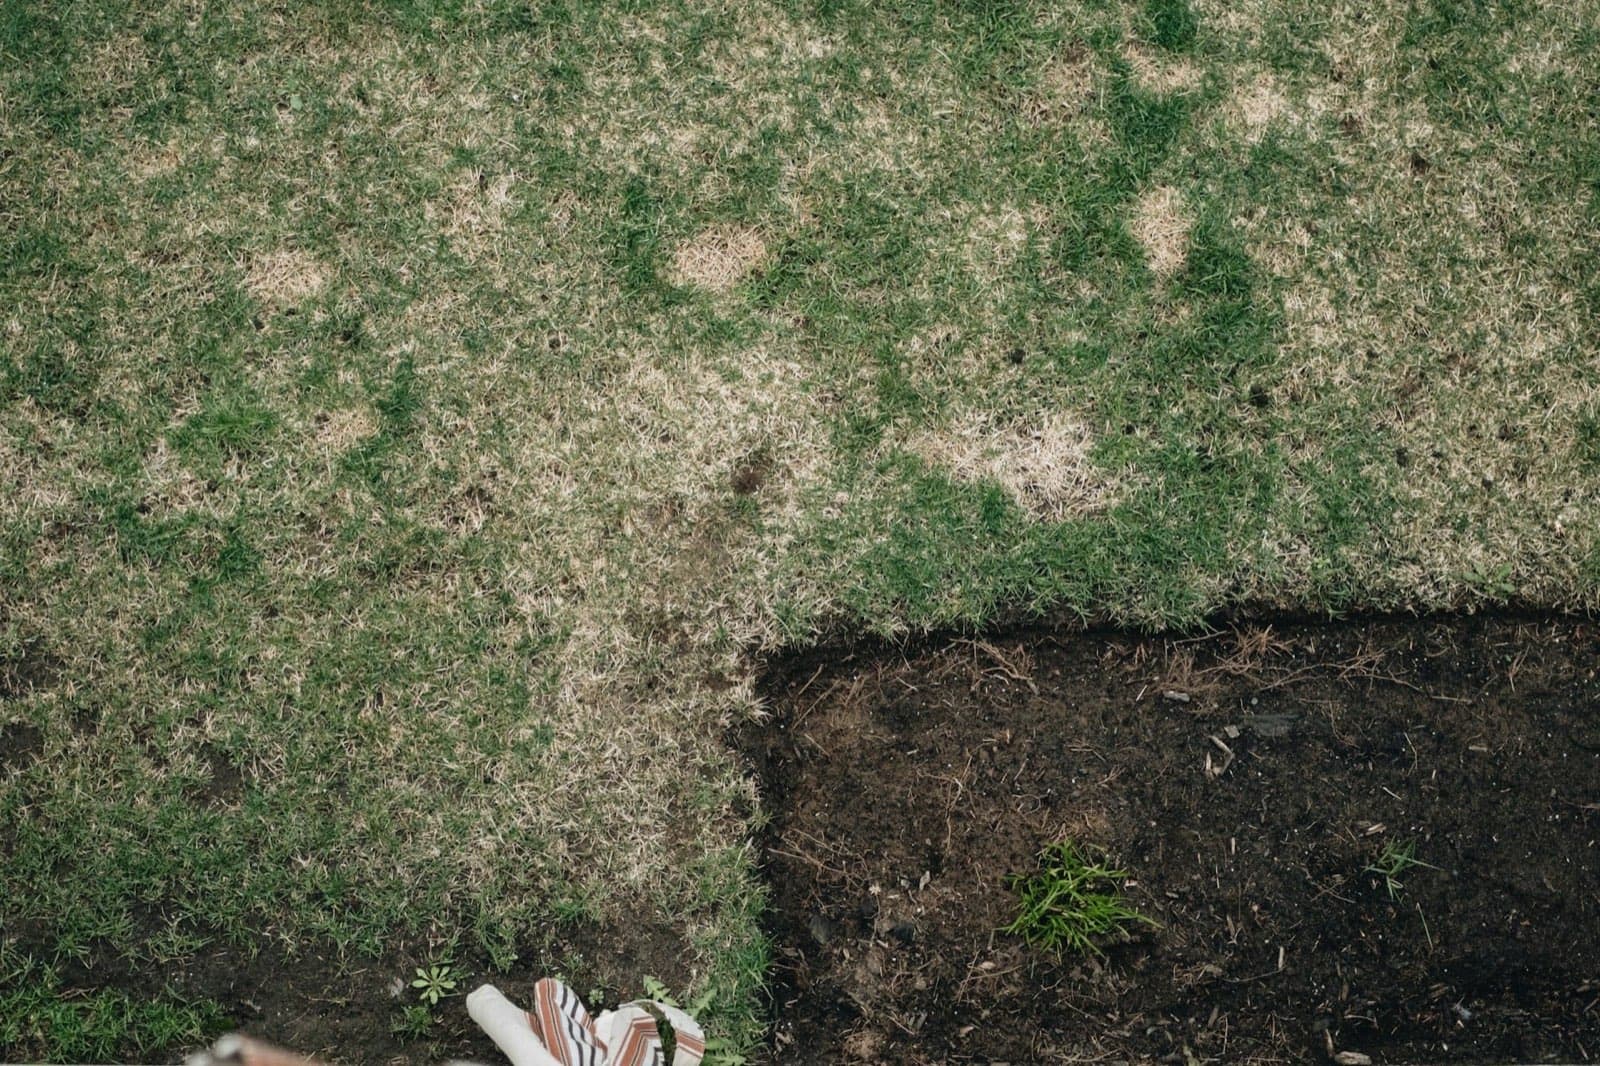
Week 1 to 2: The ugly phase
This is where nerve holds. Bare patches are visible, the lawn looks thin and battered, and it is tempting to think something went wrong. Nothing went wrong. The lawn needed that material removed, and now air, water, and nutrients can reach the soil properly for the first time in months (or years). Keep foot traffic off the lawn as much as possible during this phase.
Week 3 to 4: Recovery begins
If you overseeded after scarification, this is when new grass seedlings start appearing. Existing grass plants are also responding to the improved conditions at soil level and beginning to fill in. The first signs of green returning are a genuine relief.
Week 6 to 8: Results visible
By this stage, new grass has established and existing turf has thickened noticeably. Colour is better because nutrient uptake has improved. The lawn is denser, healthier, and in a much stronger position heading into winter. The difference between "before" and "after" at this point is often dramatic.
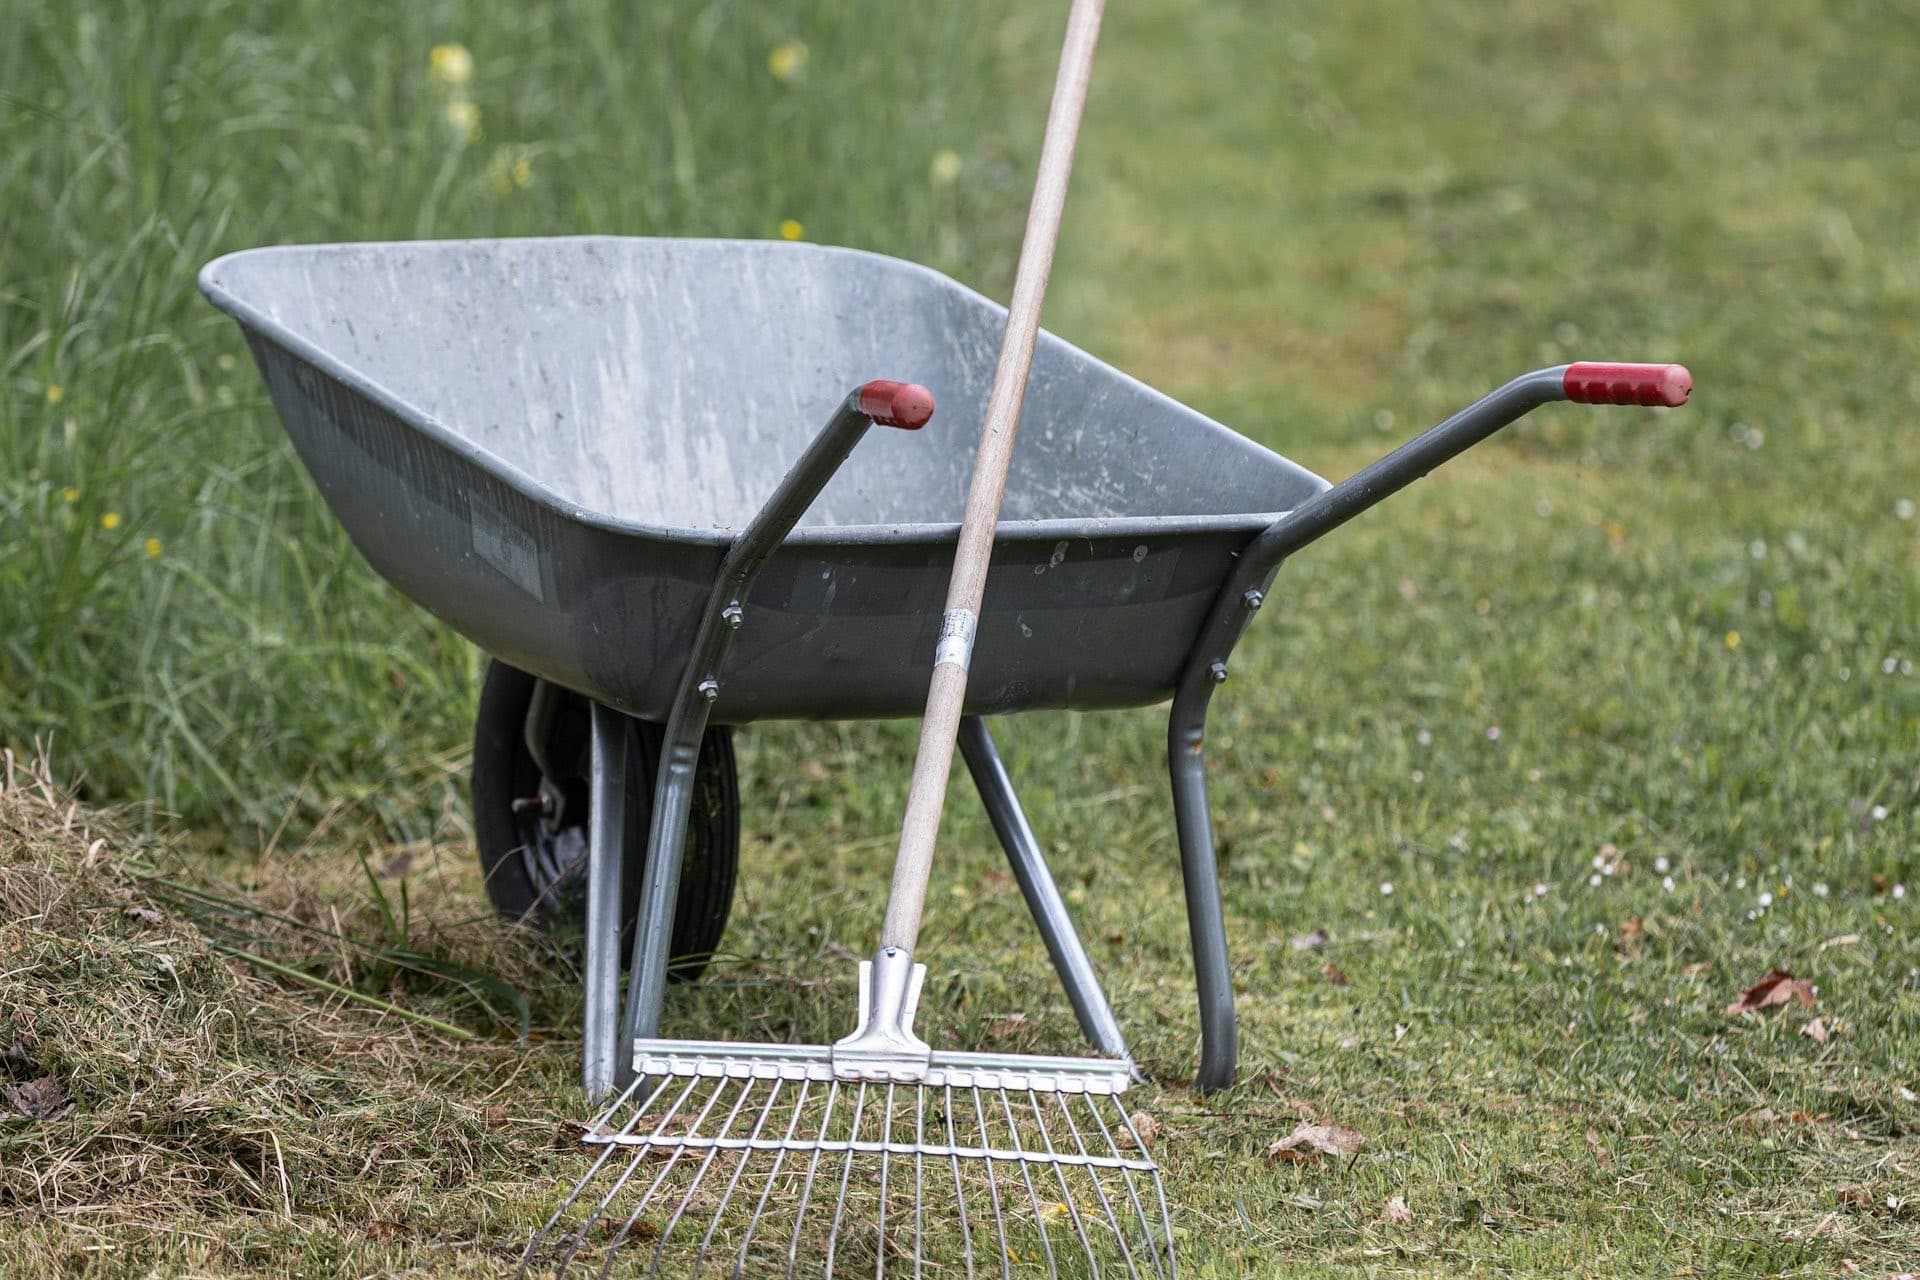
How to prepare your lawn for scarification
Preparation makes a significant difference to the results:
- Mow gradually lower over 2-3 weeks before the scarification date. Drop the height by a few millimetres each cut so the scarifier blades can reach the thatch layer effectively.
- Treat any moss 2-3 weeks before so it is dead and can be pulled out cleanly. Scarifying live moss drags viable fragments and spores across the lawn and worsens the problem.
- Ensure the soil is moist but not waterlogged. Scarifying bone-dry soil is harder on the machine and the lawn. Saturated soil turns into mud. Ideal conditions are damp after a day or two without heavy rain.
- Mark hidden obstacles (stepping stones, irrigation fittings, edging) that the scarifier could catch on.
For more detail on what Greener's process involves, see our scarification and overseeding service page.
DIY vs professional scarification
I am not going to tell you that DIY scarification is impossible, because it is not. If your lawn has light thatch build-up and you hire a decent scarifier from a tool hire shop, you can get reasonable results.
Where professional scarification genuinely differs:
- Commercial-grade equipment cuts deeper and more consistently than consumer hire machines. The blades are sharper, the drum is heavier, and the depth control is more precise.
- Experience judging depth and passes. Too shallow and you barely scratch the surface. Too deep and you rip out healthy grass plants. Knowing the right depth for the specific lawn conditions comes from doing hundreds of lawns, not reading the machine manual.
- Seed mix selection. A professional will match the seed mix to your lawn's conditions: shade-tolerant for under trees, hard-wearing for family lawns, fine fescue for ornamental quality. The generic "patch repair" seed from the garden centre is rarely the best choice.
- Waste removal. A full scarification on a medium lawn produces several large bags of thatch. Removing and disposing of that material properly is part of the job.
For light annual maintenance scarification, DIY with a spring-tine rake or a basic electric scarifier is fine. For a proper renovation scarification on a lawn that has not been done in years, the difference in results between a consumer machine and a commercial petrol scarifier is significant.
Our approach to autumn renovation
On every lawn I treat, autumn renovation follows the same pattern: moss treatment first, applied two to three weeks ahead so the moss is fully dead, then a two-pass minimum scarification with a commercial petrol scarifier, waste cleared from your lawn, and overseeded with a seed mix matched to the lawn's specific conditions. Shade areas get a shade-tolerant mix. Open, sunny areas get a different blend. It is not one-size-fits-all.
This is included as standard in The Lawn Care Plan. It is not an add-on or an annual extra charge. I include it because skipping scarification means the feeding programme has to fight through a thatch barrier to reach the soil, and that is a waste of good product.
Once the lawn has recovered from autumn renovation, the spring programme picks up where autumn left off. The first spring feed goes onto a lawn with minimal thatch, good soil contact, and thick turf from the autumn overseeding. That is a much better starting point than trying to feed through 20mm of dead material.
The key to scarification is patience. The lawn will look worse before it looks better, and that is not a sign of failure. It is the process working exactly as it should.
Want help with your lawn?
Book a free lawn survey and we'll take a look at your lawn. No obligation, honest advice.